We had some fun with melted wax for a couple of our gifts. Lacking a double boiler, I use a pot, a coffee can, and some random utensils. (The coffee snob in me will not allow this to pass without informing you that our coffee can is acquired, it would be desperate times indeed for me to drink coffee out of a can!) Fill a pot with a couple inches of water and drop in enough metal utensils to keep the can off the bottom of the pan. We used paraffin (canning) wax with broken crayons for colour.
First we made a teacup candle for the kids' Great Grandmother. It only took two very, very small pieces of crayon, one brown, one white, to get a nice tea-with-cream tan. We also added a small amount of lavender candle scent to the mix. I at first tried to find out if there was anything in our cupboards we could use to add a nice scent to the candle, such as vanilla extract. However, not being able to find adequately reliable information on the subject (but plenty of warnings,) we splurged on a small bottle of the real deal.
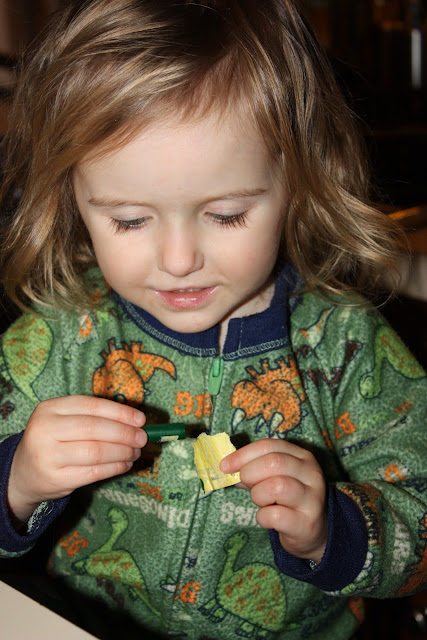
Kaia has made a couple of dipped candles before, but she'd not seen one poured into a mold. She was excited to see the entire process, though it is a pretty simple one. She happily dropped the wax and crayons into the can and watched them melt. Miss Kaia was especially impressed with stirring the crayons into the clear wax and watching the colours swirl together. To keep the wick centered and from falling in, I wrapped one end around a pencil and laid it on top before pouring the wax in. Make sure you put your candle (be it teacup, jar, carton, or other devise,) on a cooling rack so that air can circulate underneath. If you do not, the bottom will stay hot, the outside of your candle will cool much faster, and you will have a great dip in the center of your new candle. I know, because we did this the first time we made one, ha!
Kaia peeled us some more crayon pieces, this time shades of green, and after our candle was filled she threw the green crayons right into our left over brown wax. It didn't take much of those, either, to turn the wax a nice, muted forest green.
We used the rest of it up tying strings to pine cones and acorns and dipping them. This all turned out trickier than I think was a good idea for a 2 year old. There is a very small window of opportunity in which the wax is neither too hot nor too cold to get a nice, even coat. When it is too hot, the wax does not stick, and repeated dunkings did not help, either. It just continued to melt off. When the wax was too cold, it got chunky and nasty. This was incredibly frustrating for Kaia, and most of the time she could only get one object dipped nicely before we needed to wait, either for the wax to heat back up, or cool off. She did, in the end, get a couple pine cones and acorns dipped, but it was a painful process. I think she was happy she'd done it, but wanted to just watch me do the rest.
We picked up a package of small, round magnets at the craft store and Kaia helped me go through a handful of magazines and catalogs to find tiny, Christmasy pictures to cut out. I cut them into little circles and gave them a light coat of Mod Podge, them pressed them into the backs of small glass stones. When they had dried, I glued magnets to the backs of them. These are what we filled our Totes of Tininess with!
And we made cookies, of course! Kaia had a blast decorating them. It was funny, she has no concept of what a "gingerbread man" is, so instead, as far as she was concerned, she decorated robots, snowmen, and bears. <3


No comments:
Post a Comment
Please leave a comment, I adore feedback! <3